Windows Update is one of the most important parts of Windows 11 because it delivers security patches, bug fixes, feature improvements, and updated drivers. However, updates do not always install cleanly. You may see Windows Update stuck at a certain percentage, repeated download failures, error codes that keep returning, or updates that install and then roll back.
In many cases, the fastest and safest troubleshooting step is to clear the Windows Update cache. This forces Windows to discard potentially corrupted update files and download fresh copies from Microsoft.
What Is the Windows Update Cache in Windows 11?
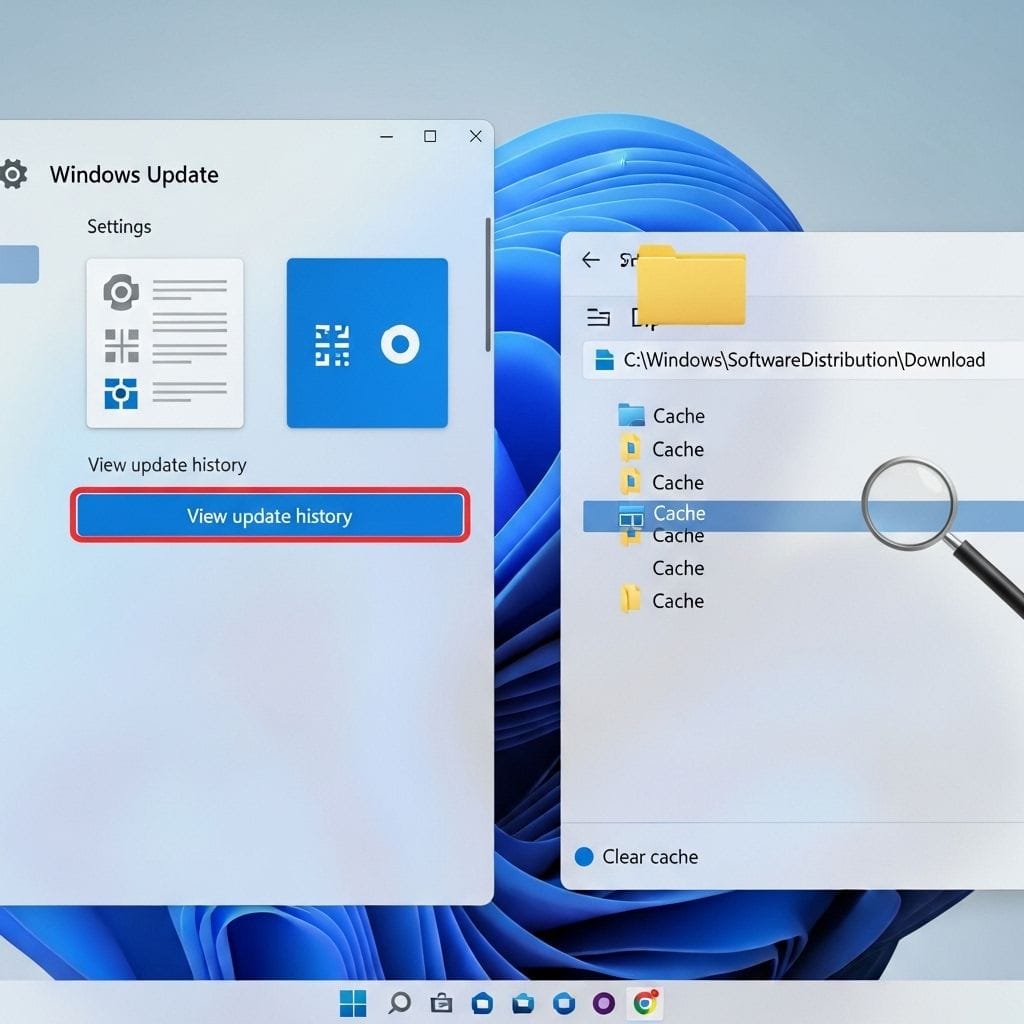
The Windows Update cache is a set of temporary files Windows stores while preparing updates. Most of these files are saved in the C:WindowsSoftwareDistribution folder (and some related components use C:WindowsSystem32catroot2). This cache can speed up update processing, but it can also become corrupted after interrupted downloads, unexpected shutdowns, disk issues, or failed update attempts.
When the cache is damaged, Windows Update may fail even if your internet connection is stable. Clearing the cache removes the problematic files so Windows can rebuild them.
When Should You Clear the Windows Update Cache?
- Windows Update is stuck (for example, 0%, 20%, 73%, or 100%) for a long time
- Updates fail repeatedly with the same error code
- Downloads keep restarting or never finish
- You see messages like “Something went wrong” or “We couldn’t complete the updates”
- You need to recover disk space and Windows Update Cleanup is not reducing usage as expected
Before You Start (Important Notes)
- Save your work and restart your PC once before troubleshooting.
- Use an account with administrator rights.
- Do not delete random files in C:Windows. Only target the update cache folders described below.
Method 1: Clear Windows Update Cache Using Command Prompt (Recommended)
This is the most reliable approach because it stops the services that lock the cache folders.
Step 1: Open Command Prompt as Administrator
Press Windows + S, type Command Prompt, right-click it, then select Run as administrator.
Step 2: Stop Windows Update Related Services
In the Command Prompt window, run these commands one by one (press Enter after each):
- net stop wuauserv
- net stop cryptSvc
- net stop bits
- net stop msiserver
If a service is not running, Windows may say so. That is fine.
Step 3: Delete the Cached Update Files
Run the following commands to remove the cached contents:
- del /f /s /q %windir%SoftwareDistributionDownload*
- del /f /s /q %windir%SoftwareDistributionDataStore*
If you prefer to reset more thoroughly, you can also rename the folders instead of deleting their contents. Renaming lets Windows recreate them while keeping a backup:
- ren %windir%SoftwareDistribution SoftwareDistribution.old
- ren %windir%System32catroot2 catroot2.old
Step 4: Start the Services Again
Restart the services you stopped:
- net start wuauserv
- net start cryptSvc
- net start bits
- net start msiserver
Step 5: Check for Updates
Go to Settings > Windows Update and select Check for updates. Windows should download fresh update files and rebuild the cache.
Method 2: Clear Windows Update Cache Using Services (GUI Option)
If you prefer a graphical method to stop the Windows Update service:
- Press Win + R, type services.msc, then press Enter.
- Find Windows Update, right-click it, and choose Stop.
- Also stop Background Intelligent Transfer Service (BITS).
- Open File Explorer and navigate to C:WindowsSoftwareDistribution.
- Delete the contents of Download (and optionally DataStore).
- Return to Services and Start Windows Update and BITS again.
Method 3: Use Windows “Windows Update Cleanup” (Storage Cleanup)
This method is useful for reclaiming space, and may help after updates install successfully but leave large leftovers.
- Open Settings > System > Storage.
- Open Temporary files.
- Select Windows Update Cleanup (if listed).
- Follow the on-screen instructions to complete the cleanup.
FAQ: Common Questions About Clearing the Windows Update Cache
Will clearing the Windows Update cache delete my personal files?
No. This process targets update download and database files, not your documents, photos, or installed apps.
Will I need to re-download updates?
Yes. Clearing the cache removes downloaded update files so Windows will download them again as needed.
What if Windows Update still fails after clearing the cache?
Next steps include running the Windows Update troubleshooter, checking for system file corruption (SFC/DISM), verifying available disk space, and reviewing error codes for targeted fixes.
Conclusion
Clearing the Windows Update cache on Windows 11 is a proven fix for stuck downloads, repeated errors, and corrupted update files. The Command Prompt method is the most dependable because it correctly stops update services before removing cached content. After you clear the cache and restart services, Windows Update should rebuild clean files and complete installations normally.
Leave a Reply