Understanding Windows 11 Recovery Partition Drive Letter Assignments
Many Windows 11 users encounter an unexpected behavior where the operating system automatically assigns drive letters to recovery partitions. These special partitions normally operate in the background without appearing in File Explorer, but when they suddenly become visible, it can cause confusion and potential system management issues.
Why Recovery Partitions Are Important
Windows recovery partitions serve crucial functions for system integrity:
- System Repair Tools: Contain essential utilities for troubleshooting startup issues
- Factory Reset Capabilities: Store files needed to restore your PC to its original state
- Windows Recovery Environment (WinRE): Provides advanced recovery options outside the main OS
Why Does Windows 11 Assign Drive Letters to Recovery Partitions?
Several scenarios might trigger this unexpected behavior:
- System updates modifying partition configurations
- Disk management operations involving partition resizing
- Third-party software interfering with disk management
- Driver conflicts affecting storage recognition
- Clean installations creating new partition schemes
Potential Risks of Leaving Drive Letters Assigned
While the assignment might seem harmless, it poses several risks:
- Accidental Data Modification: Users might mistakenly delete critical recovery files
- System Restoration Failure: Modified partitions could prevent successful recovery operations
- Drive Letter Conflicts: Could interfere with proper mapping of external storage devices
- User Confusion: Extra visible drives create unnecessary clutter in File Explorer
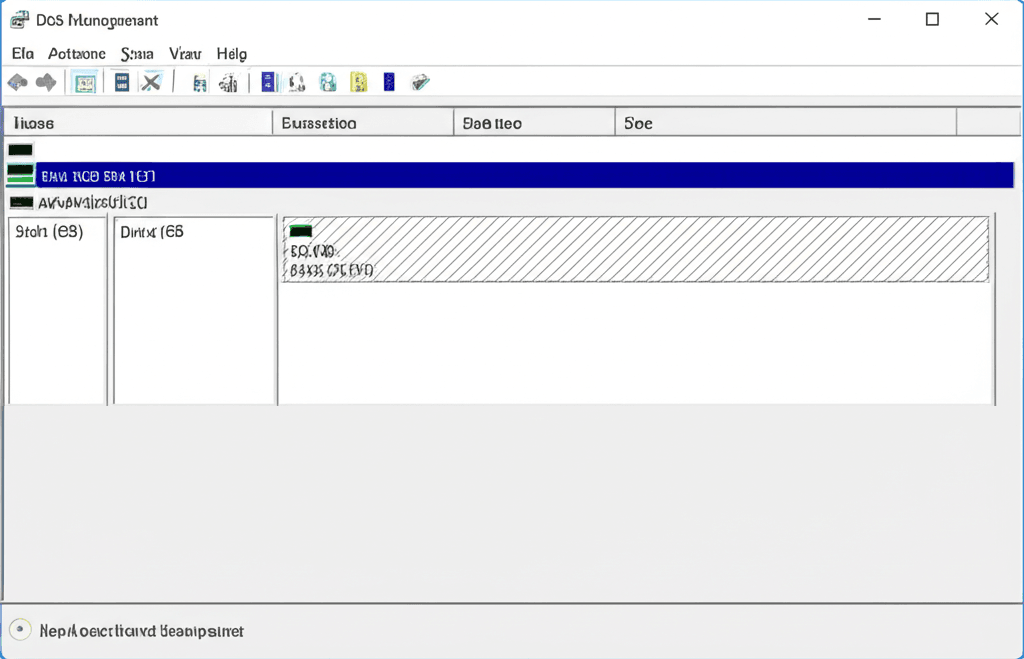
How to Remove Drive Letters From Recovery Partitions Using Disk Management
- Open the Start menu and type ‘Create and format hard disk partitions’ to launch Disk Management
- Right-click the recovery partition (typically 500MB-1GB in size) showing a drive letter
- Select ‘Change Drive Letter and Paths’
- Click ‘Remove’ and confirm the action
- Restart your computer for changes to take effect
Using PowerShell to Permanently Block Drive Letter Assignment
For advanced users, PowerShell provides more control:
- Open PowerShell as Administrator (right-click > Run as administrator)
- Type ‘diskpart’ and press Enter
- Enter ‘list disk’ to identify your system disk
- Select the appropriate disk with ‘select disk X’ (replace X with your disk number)
- Enter ‘list partition’ to view all partitions
- Type ‘select partition Y’ (Y being your recovery partition number)
- Execute ‘remove letter=X’ (replace X with the assigned drive letter)
Preventative Measures to Avoid Future Assignments
- Limit Disk Management Modifications: Avoid unnecessary partition changes
- Monitor Windows Updates: Check for known issues after major updates
- Use Reliable Partition Software: Some third-party tools handle partitions more reliably
- Create System Restore Points: Before making any disk configuration changes
When Professional Help Becomes Necessary
If you encounter these warning signs, consult a specialist:
- Reappearing drive letters after multiple removal attempts
- Error messages when trying to modify partitions
- Missing recovery partition entirely
- Boot failures after partition modifications
Additional Considerations for System Administrators
Enterprise environments should account for these factors:
- Group Policy management of storage devices
- Enterprise imaging solutions behavior
- BitLocker encryption interactions
- Deployment toolkit configurations
By following these detailed instructions, you can effectively manage your recovery partitions and maintain an organized storage environment in Windows 11. Regular system maintenance checks help prevent recurrence of this issue and ensure your recovery options remain intact for when you truly need them.
Leave a Reply