How to Transfer Windows to Another Drive: A Comprehensive Step-by-Step Guide
Transferring Windows to another drive can seem like a daunting task, but with the right tools and guidance, it’s a straightforward process that can significantly improve your system’s performance or storage capacity. Whether you’re upgrading to a faster SSD, replacing a failing HDD, or simply moving to a larger drive, this ultimate guide will walk you through every step to migrate your Windows operating system seamlessly. Perfect for users of Windows 10 or 11, this tutorial covers both built-in tools and third-party software to ensure a safe and efficient transfer without losing data or reinstalling programs.
Why Transfer Windows to Another Drive?
There are several reasons you might want to move your Windows OS to a new drive. Upgrading from an HDD to an SSD can drastically boost boot times and application loading speeds. Alternatively, if your current drive is running out of space or showing signs of failure, transferring Windows to a new drive can prevent data loss and system crashes. Additionally, moving to a larger or faster drive like an NVMe SSD can future-proof your setup and enhance overall performance.
Preparation: Essential Steps Before Migrating Windows
Before you begin the migration process, preparation is key to avoid potential issues. Follow these steps to ensure a smooth transfer:
- Backup Your Data: Always back up important files to an external drive or cloud storage. While the migration process is generally safe, unexpected errors can occur.
- Check Drive Compatibility: Ensure the target drive (SSD, HDD, or NVMe) is compatible with your system and has enough space to accommodate your Windows installation and files.
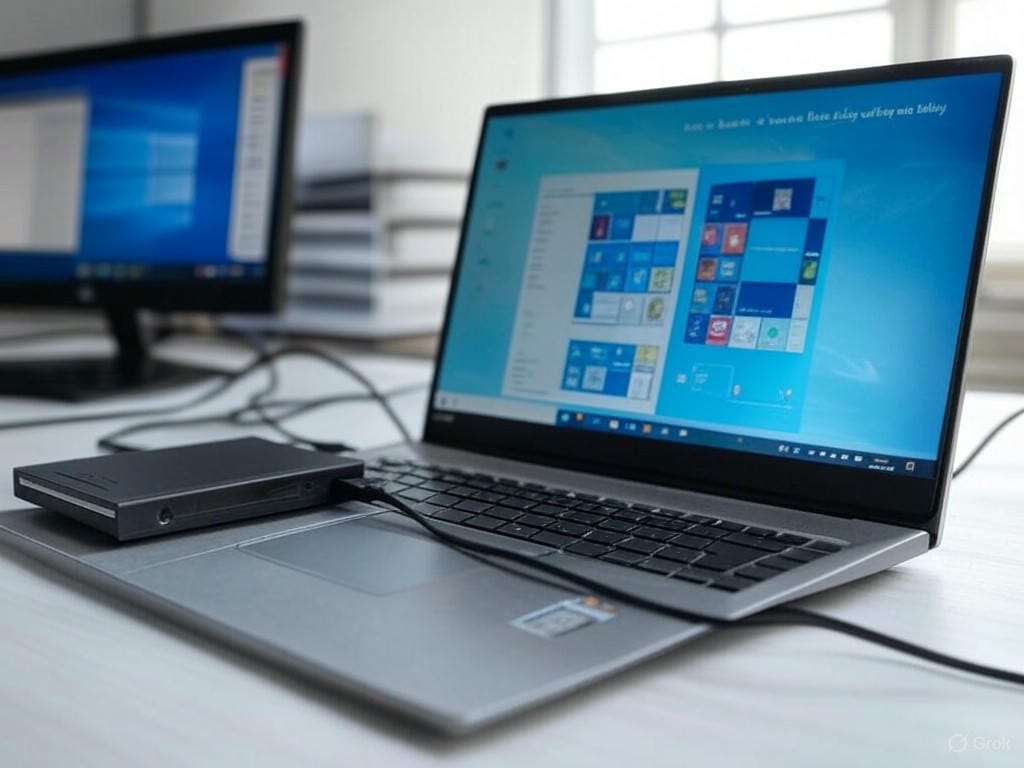
- Connect the New Drive: Physically connect the target drive to your computer. If you’re using a desktop, ensure both drives are properly installed. For laptops, you might need an external enclosure or adapter.
- Download Necessary Tools: Decide whether to use built-in Windows tools like System Image or third-party software such as EaseUS Partition Master, DiskGenius, or Samsung Data Migration (for Samsung drives).
Method 1: Transfer Windows Using Built-In Tools
Windows provides a built-in option to create a system image and restore it to a new drive. Here’s how:
- Create a System Image: Go to Control Panel > System and Security > Backup and Restore. Select ‘Create a system image’ and choose an external drive to store the backup.
- Prepare the Target Drive: Ensure the new drive is connected and formatted (if necessary).
- Restore the Image: Boot from a Windows recovery media or installation disk, select ‘System Image Recovery,’ and follow the prompts to restore the image to the new drive.
This method is free and reliable but can be time-consuming and requires a separate drive for the backup image.
Method 2: Clone Windows Using Third-Party Software
For a faster and more user-friendly experience, third-party tools like EaseUS Partition Master, DiskGenius, or Macrium Reflect (though the free version is discontinued) are excellent choices. These tools allow you to clone your current drive directly to the new one. Here’s a general process using such software:
- Install the Software: Download and install a reputable cloning tool.
- Select System Clone: Open the software, choose the ‘Clone’ or ‘System Clone’ option, and select your current Windows drive as the source.
- Choose Target Drive: Select the new drive as the destination and click ‘Next.’ Ensure the target drive has sufficient space.
- Start Cloning: Confirm the settings and start the cloning process. Once completed, the software may prompt you to adjust drive letters or reboot.
- Set Boot Priority: Enter your BIOS/UEFI settings and set the new drive as the primary boot device.
Third-party tools often handle partition alignment and optimization automatically, making them ideal for SSD migrations.
Method 3: Manufacturer-Specific Tools
If you’re using a branded drive like Samsung or Western Digital, check if the manufacturer offers a dedicated migration tool. For instance, Samsung Data Migration software is tailored for transferring Windows to Samsung SSDs and NVMe drives, ensuring compatibility and performance optimization.
Common Issues and Troubleshooting
During the transfer, you might encounter issues like boot failures or cloning errors. Here are some tips:
- Boot Issues: Ensure the new drive is set as the boot device in BIOS. If it doesn’t boot, use Windows recovery tools to repair the bootloader.
- Space Constraints: If the target drive is smaller, use software features to exclude unnecessary files or partitions during cloning.
- Activation Concerns: Transferring Windows typically doesn’t require reactivation as long as the hardware (especially the motherboard) remains unchanged. However, keep your product key handy just in case.
Post-Migration Steps
After successfully transferring Windows, verify that all programs and files are intact. Update drivers if necessary, especially for SSDs or NVMe drives, to ensure optimal performance. You can then repurpose the old drive for additional storage or wipe it clean for a fresh start.
Conclusion
Transferring Windows to another drive is a practical solution for upgrading storage or enhancing system speed. Whether you opt for built-in Windows tools or third-party software like EaseUS Partition Master, the process can be completed safely without reinstalling the OS or losing data. By following this detailed guide, you can migrate your Windows 10 or 11 installation to a new SSD or HDD with confidence. Have questions or need further assistance? Drop a comment below, and we’ll help you out!
Related Keywords: transfer Windows to SSD, migrate Windows 10 to new drive, clone Windows to NVMe, move Windows without reinstalling, Windows OS migration guide.
Leave a Reply