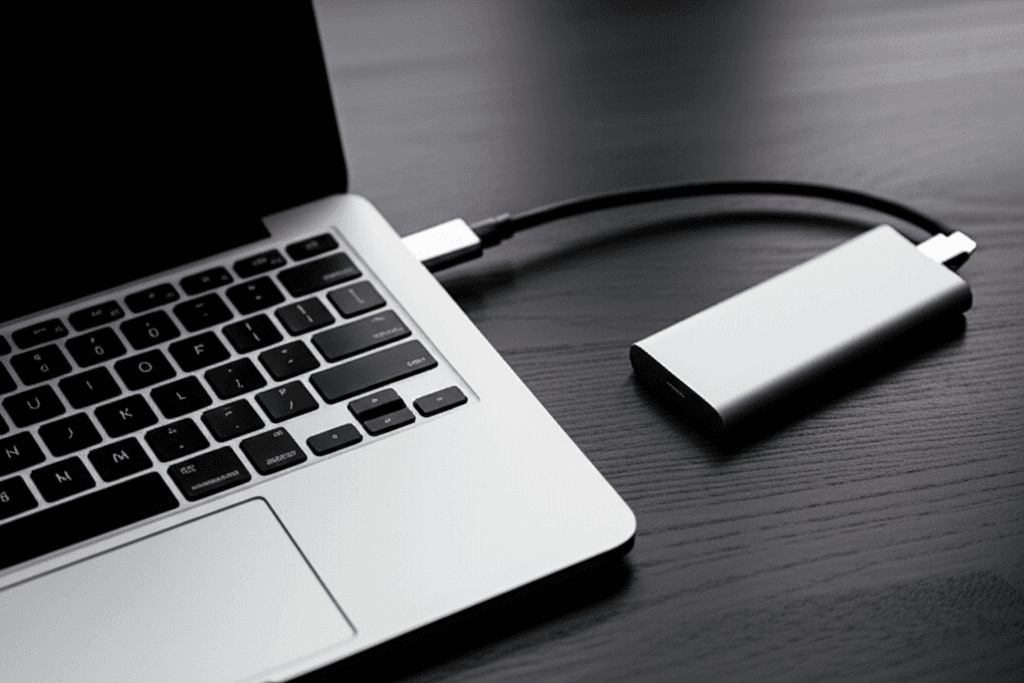
Why Boot Windows from an External SSD?
Booting Windows from an external SSD offers unparalleled flexibility for tech enthusiasts, professionals needing portable workstations, or users seeking a backup OS. Unlike traditional internal drives, external SSDs combine blazing-fast read/write speeds with plug-and-play convenience, making them ideal for creating a fully functional Windows environment you can take anywhere.
What You’ll Need Before Starting
✔ A Compatible External SSD: Use an NVMe SSD in a USB 3.2/Thunderbolt enclosure for optimal performance (minimum 256GB recommended).
✔ Windows Installation Media: Download the official Media Creation Tool from Microsoft.
✔ USB Flash Drive: 8GB+ for creating bootable installation media.
✔ BIOS/UEFI Access: Ensure your system supports USB/External Boot (check manufacturer documentation).
✔ Backup: Always back up critical data before modifying boot configurations.
Step-by-Step: Create a Bootable Windows External SSD
1. Prepare Installation Media:
– Run the Media Creation Tool and select “Create installation media”.
– Choose your Windows version/architecture (Windows 11 requires TPM bypass for some older devices).
– Select “USB flash drive” to create a bootable installer.
2. Connect Your External SSD:
– Use a USB-C or Thunderbolt port for maximum bandwidth.
– Initialize the SSD via Disk Management (GPT partition style for UEFI systems).
3. Install Windows to External SSD:
– Boot from the USB installer (press F12/DEL/ESC during startup for boot menu).
– At the “Where do you want to install Windows?” screen, select your external SSD.
– Complete setup (skip product key entry if reactivating later).
4. Configure BIOS/UEFI Settings:
– Disable Secure Boot temporarily if facing compatibility issues.
– Set USB/External Devices as primary boot priority.
– Enable Thunderbolt/USB Boot Support (common in Lenovo/Dell/HP BIOS).
Troubleshooting Common Issues
🚩 Blue Screen Errors: Update SSD firmware and chipset drivers. Disable Fast Startup in Windows Power Options.
🚩 Slow Performance: Ensure USB 3.2/Thunderbolt connection. Use CrystalDiskMark to verify SSD speeds.
🚩 Boot Failure: Rebuild BCD via Command Prompt:
bootrec /rebuildbcd
bootrec /fixmbr
bootrec /fixboot
🚩 Driver Conflicts: Install manufacturer-specific USB/Thunderbolt drivers before first boot.
Performance Considerations
Modern NVMe SSDs like Samsung T7 Shield or WD Black P50 deliver near-internal drive speeds:
☑ Sequential Reads: Up to 2,800 MB/s (USB 3.2 Gen 2×2)
☑ Gaming Viability: Avg. game load times within 10-15% of internal SSD performance
☑ Thermal Management: Use aluminum-bodied enclosures for sustained workloads
Advanced Use Cases
🌟 Multi-Boot Configurations: Create separate partitions for Linux/Windows dual-boot
🌟 Diagnostic Toolkit: Integrate recovery tools like GParted or MemTest86+
🌟 Secure Environments: Enable BitLocker encryption for portable data protection
FAQs: Booting Windows Externally
Q: Does this work with Windows 11 Secure Boot requirements?
A: Yes, but you may need to enroll the SSD’s bootloader in your UEFI firmware.
Q: Can I clone my existing Windows install to an external SSD?
A: Use tools like Macrium Reflect or Clonezilla for sector-by-sector transfers.
Q: Will updates affect external boot functionality?
A: Major Windows updates occasionally reset boot priorities—keep recovery media handy.
Conclusion
Creating a portable Windows installation on an external SSD transforms how you compute across devices. With Thunderbolt 4/USB4 becoming standard, expect near-seamless performance rivaling internal drives. Follow this guide meticulously, prioritize hardware compatibility, and you’ll unlock a new dimension of OS flexibility—perfect for IT professionals, digital nomads, or anyone needing a failsafe Windows environment.

Leave a Reply