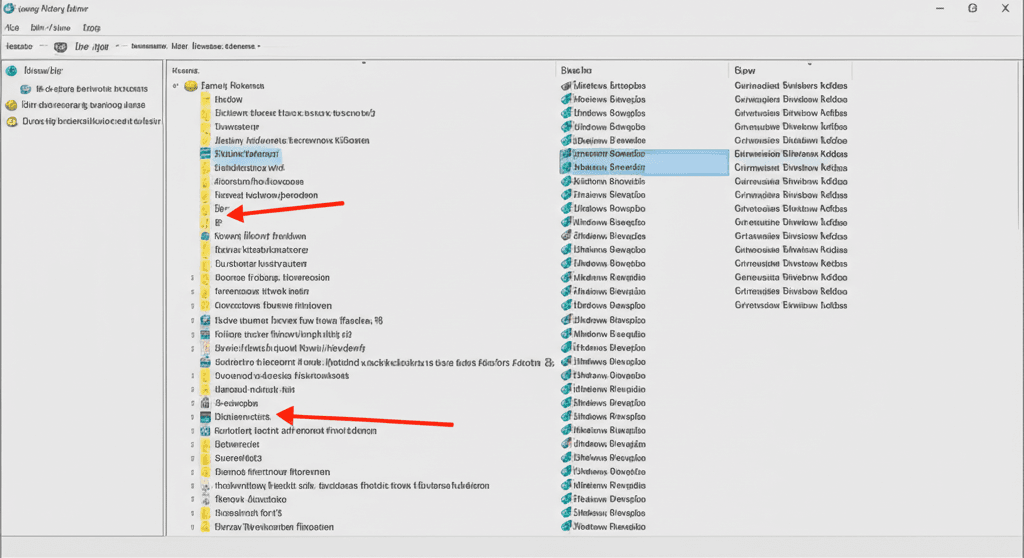
Windows 11 includes several pre-installed Microsoft Store apps that many users find unnecessary or unwanted. These default apps can take up storage space and clutter your system. Fortunately, Windows 11 provides built-in tools to remove these apps, and one of the most effective methods is using the Local Group Policy Editor. This guide will walk you through the steps to remove default Microsoft Store app packages using GPEDIT, ensuring a cleaner and more personalized computing experience.
Before proceeding, it is important to note that the Local Group Policy Editor is available only in Windows 11 Pro, Enterprise, and Education editions. If you are using Windows 11 Home, you will need to enable GPEDIT or use alternative methods such as PowerShell commands or the Settings app to uninstall apps.
To begin, open the Local Group Policy Editor by pressing the Windows key + R to launch the Run dialog. Type gpedit.msc and press Enter. This will open the Group Policy Editor window. Navigate to Computer Configuration > Administrative Templates > Windows Components > Store.
In the Store folder, locate the policy named Turn off the Store application. Double-click on this policy to open its settings. By default, this policy is set to Not Configured. To disable the Microsoft Store and prevent it from running, select the Enabled option. Click Apply and then OK to save the changes. This will effectively turn off the Store app, but it does not remove pre-installed apps.
To remove specific default Microsoft Store apps, you need to use a different approach. Microsoft does not provide a direct Group Policy setting to uninstall individual apps, but you can use Group Policy to control app installation and removal behaviors. For instance, you can prevent certain apps from being installed or restrict access to the Store.
Alternatively, you can use PowerShell to remove default apps. Open PowerShell as an administrator by right-clicking the Start button and selecting Windows Terminal (Admin) or PowerShell (Admin). Use the Get-AppxPackage command to list all installed apps. Identify the package name of the app you want to remove, then use the Remove-AppxPackage command followed by the package name to uninstall it. For example, to remove the Xbox app, you might use a command like Remove-AppxPackage Microsoft.XboxApp.
After making changes through Group Policy or PowerShell, it is recommended to restart your computer to ensure all settings take effect. Keep in mind that removing system apps can sometimes cause unexpected issues, especially if they are integral to Windows functionality. Always create a system restore point before making significant changes to your system.
For users who prefer a graphical interface, the Settings app in Windows 11 also allows you to uninstall many default apps. Go to Settings > Apps > Installed apps, find the app you want to remove, click the three dots next to it, and select Uninstall. However, not all default apps can be removed this way, which is why methods like Group Policy and PowerShell are valuable.
In summary, using the Local Group Policy Editor in Windows 11 Pro, Enterprise, or Education editions provides a powerful way to manage and remove default Microsoft Store apps. While direct uninstallation via GPEDIT is limited, combining it with PowerShell commands offers a comprehensive solution for decluttering your system. Always proceed with caution and back up your system to avoid potential problems.

Leave a Reply