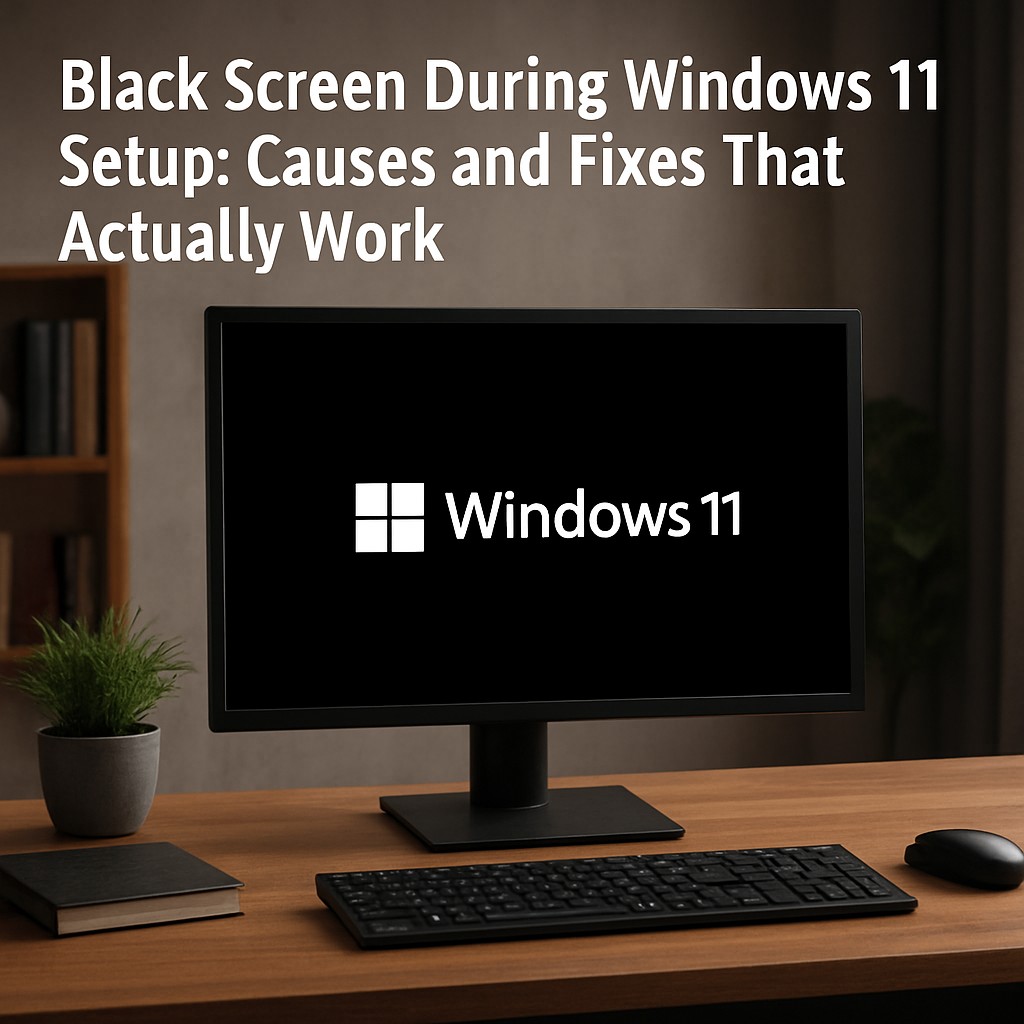
A black screen during Windows 11 installation can make the setup appear frozen, even when the process is still running in the background. In most cases, the underlying issue is related to display initialization, corrupted installation media, or firmware (BIOS/UEFI) configuration. The following troubleshooting steps are arranged from the quickest checks to deeper fixes, with emphasis on restoring a visible display and completing installation.
Common causes of a black screen in Windows 11 setup
Black screens during installation typically come from one or more of these categories:
- Graphics driver or display initialization problems (especially when using a discrete GPU or certain adapters)
- Corrupted or incorrectly created installation USB
- BIOS/UEFI settings mismatch such as booting in legacy mode when UEFI is required
- Hardware conflicts caused by extra peripherals or multiple drives connected
- Missing network drivers that can stall setup on some motherboards
Fast checks to recover the display during setup
Before changing files or re-creating the installer, attempt these quick actions.
1) Trigger a display reinitialization
Some systems recover instantly when Windows forces the graphics driver to reinitialize. While the screen is black, press:
- Win + Ctrl + Shift + B
If the display comes back, the installer is often still progressing normally. If nothing changes after several seconds, move to the next steps.
2) Verify the monitor and ports
A problematic cable or port can look identical to a failed setup. Try:
- Switching between HDMI and DisplayPort on the GPU
- Using a different port on the same GPU
- Testing a different monitor if available
For troubleshooting, it helps to temporarily use a different monitor or cable even if the hardware previously worked in Windows.
Fix installation media issues (a frequent root cause)
If the USB boot image is corrupted or created incorrectly, setup may fail silently or hang on a black screen. The most reliable approach is to re-create the installation drive.
Rebuild the Windows 11 installation USB using official tooling
Create a fresh USB using Microsoft’s official Windows 11 Installation Media Tool. This step reduces uncertainty caused by partial downloads, wrong ISO selection, or USB formatting mistakes.
- Use a known-good USB drive
- Ensure the ISO is applied correctly by the tool
- Restart after the USB is rebuilt
Confirm UEFI boot mode
Many black screen issues trace back to boot mode mismatches. Confirm that the system boots in UEFI mode rather than legacy BIOS/CSM.
- Open the motherboard boot menu during startup (commonly a key like F12, Esc, or similar)
- Select the entry labeled with UEFI (if shown)
Firmware and hardware adjustments
BIOS/UEFI configuration and hardware setup can affect display initialization and the installer’s ability to detect compatible devices.
Update BIOS/UEFI if the system is newer or recently updated
An outdated firmware version can cause instability during setup. Updating BIOS/UEFI may resolve hangs and blank screens, particularly on systems with newer components or specific motherboard revisions.
Disconnect unnecessary drives and peripherals
During installation, keep hardware minimal:
- Connect only the target SSD/HDD
- Remove extra external USB drives, hubs, printers, webcams, and similar peripherals
This prevents unexpected device detection behavior that can interfere with setup.
If using a discrete GPU, consider basic video first
For systems with both motherboard video output and a dedicated GPU, installation may succeed more consistently when the display is connected to basic graphics first.
- Use the motherboard’s video output for the initial install (if available)
- Install Windows
- Then install the proper GPU drivers after the first boot
When setup stalls on black due to missing drivers
In some scenarios, the installer displays black while it waits for required drivers, especially network components. This can appear like a frozen screen even though setup is waiting.
Load LAN or Wi-Fi drivers when prompted
If the installation requires network access for features or updates, a missing network driver can halt progress. If a driver USB is available, load the LAN/Wi-Fi driver from the motherboard or manufacturer support package when setup stalls.
- Keep a driver USB prepared
- Use motherboard-specific drivers for the LAN/Wi-Fi hardware
If Windows installs but shows a black screen on first boot
When the problem shifts to the initial post-install boot, Windows Recovery options can restore access.
- Boot again from the Windows 11 USB
- Select Repair your computer
- Run Startup Repair
- Consider removing recently applied quality updates or rolling back display-related changes
If recovery triggers advanced startup options, boot recovery menus to attempt driver rollback or further repair tasks.
Most reliable resolution path
For the highest success rate, a combined approach works best:
- Re-create the Windows 11 USB using the official Microsoft media tool
- Disconnect all extra drives and peripherals except the target storage device
- Ensure UEFI boot mode is selected
- Start with minimal hardware and add GPU drivers only after Windows boots
- If setup still stalls, provide missing network drivers from a prepared USB
When the exact point of failure is known (for example, right after “Setup is starting,” during language selection, or during “Getting updates”), troubleshooting can be narrowed further. Capturing that stage helps identify whether the issue is display initialization, media integrity, or a driver dependency.
Leave a Reply