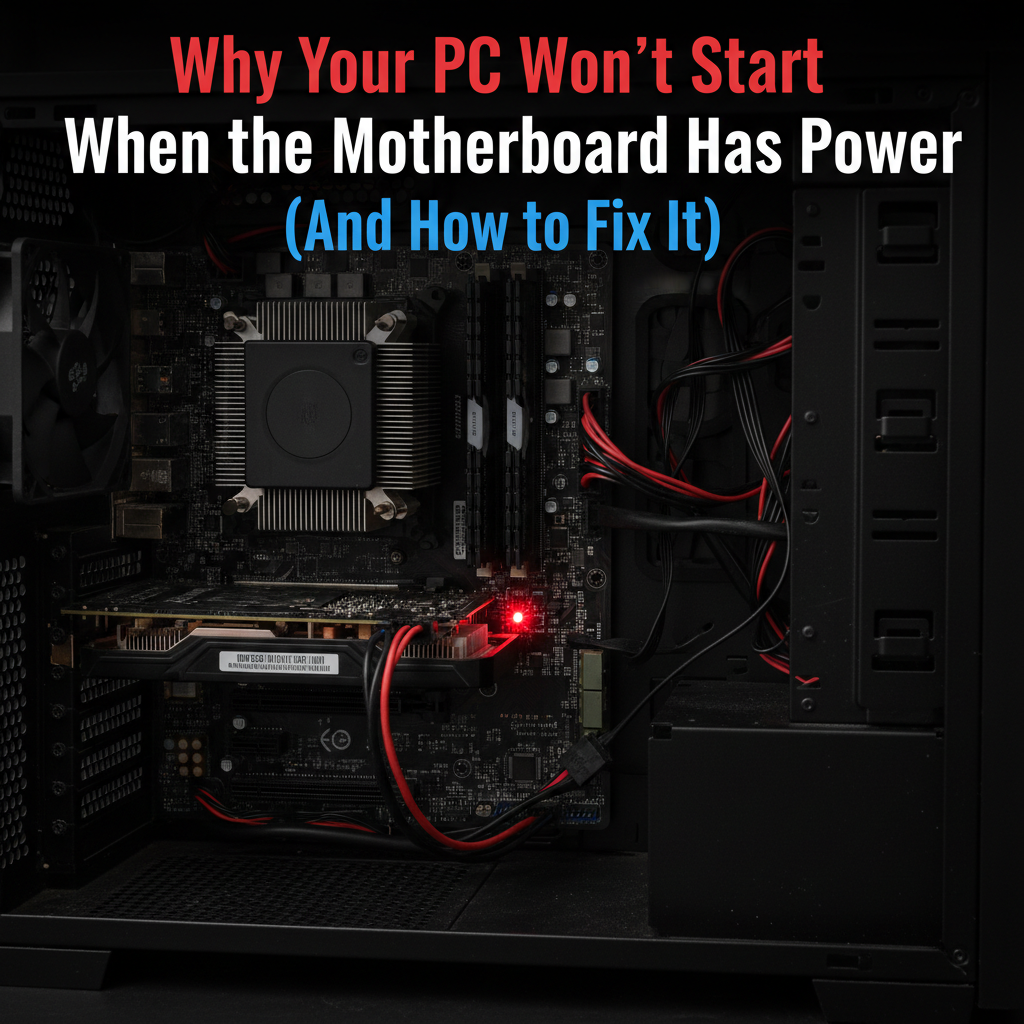
Experiencing a computer that refuses to boot despite seeing an active standby light on the motherboard can be incredibly frustrating. This indicator light confirms that the power supply unit (PSU) is delivering electrical current to the motherboard, yet some underlying issue is preventing the system from completing its power-on sequence. Fortunately, this scenario narrows down the potential culprits. The following steps outline a systematic troubleshooting process to diagnose and resolve this common hardware dilemma.
1. Verify Power Button and Case Header Connections
A frequent cause of boot failures is a disconnected or faulty power button. The physical power button on the computer case connects to the motherboard via tiny, fragile wires labeled PWR SW. Over time, or during system cleaning, these connectors can slip off the front panel header pins.
To resolve this, consult the motherboard manual to locate the exact pins for the power switch. Ensure the connector is firmly seated. To test if the physical button itself is broken, one can carefully bridge the two power switch pins on the motherboard for one to two seconds using a flathead screwdriver. If the system starts, the power button or its wiring is faulty and requires replacement.
2. Reseat and Test RAM Modules
Improperly seated or defective RAM modules will halt the boot process before the display can initialize. To rule this out, perform the following steps:
- Power down the system and unplug the power cord from the wall.
- Remove all RAM sticks from their slots.
- Clean any dust from the slots and firmly reinsert the RAM modules until the side clips click into place.
- If the system still fails to boot, try testing each RAM stick individually in different slots to identify a dead module or a faulty motherboard slot.
3. Clear the CMOS to Reset BIOS Settings
Corrupted BIOS or UEFI settings can prevent a system from posting. Clearing the Complementary Metal-Oxide-Semiconductor (CMOS) resets the motherboard settings to factory defaults. The most straightforward method involves removing the coin-sized CR2032 battery from the motherboard for approximately ten to fifteen minutes while the PC is completely unplugged. Pressing and holding the power button for thirty seconds during this time helps drain residual electrical charge before reinserting the battery.
4. Inspect All PSU Cable Connections
An illuminated motherboard light only indicates that standby power is active. It does not guarantee that the main power rails are fully connected or functional. Double-check that the primary 24-pin ATX power cable and the 8-pin (or 4+4-pin) CPU power cable are fully locked into their respective sockets on the motherboard. If a dedicated graphics card is installed, ensure its PCIe power cables are securely attached.
5. Test with Minimal Hardware (Barebones Boot)
To isolate a failing component, strip the system down to its bare essentials. Disconnect all non-essential hardware, including secondary storage drives, RGB controllers, optical drives, external USB peripherals, and expansion cards. Attempt to boot using only the motherboard, CPU, one stick of RAM, and the power supply. If the processor features integrated graphics, remove the dedicated graphics card and connect the display cable directly to the motherboard.
6. Check for Electrical Short Circuits
A short circuit occurs when a conductive material makes unauthorized contact with the motherboard, triggering the power supply’s built-in safety shutoff. Inspect the interior of the chassis for loose screws, misplaced motherboard standoffs, or pinched cables. If a short circuit is suspected, assembling and testing the core components outside of the PC case on a non-conductive surface (such as the cardboard motherboard box) can help verify this issue.
7. Examine the CPU and Cooler Installation
An improperly seated CPU or an overtightened CPU cooler can prevent a computer from turning on. Additionally, bent pins in the motherboard socket (for Intel/LGA processors) or on the CPU itself (for older AMD processors) will disrupt communication. Carefully remove the cooler, lift the CPU retention lever, and inspect the socket for damage before reseating the processor.
8. Isolate Graphics Card Faults
A malfunctioning dedicated graphics card can short out the PCIe slot or prevent the system from completing its POST sequence. If the system turns on only after removing the graphics card, the GPU may have suffered a hardware failure, or the power supply may be unable to handle its power draw.
9. Validate the Monitor and Video Cables
Sometimes, a computer actually powers on successfully, but a failure in the display pipeline creates the illusion of a dead system.
Ensure the monitor is powered on, set to the correct input channel, and securely connected to the graphics card (not the motherboard, unless using integrated graphics). Testing the setup with an alternative cable (such as HDMI or DisplayPort) or a different display can quickly eliminate monitor failure as the source of the issue.
Leave a Reply