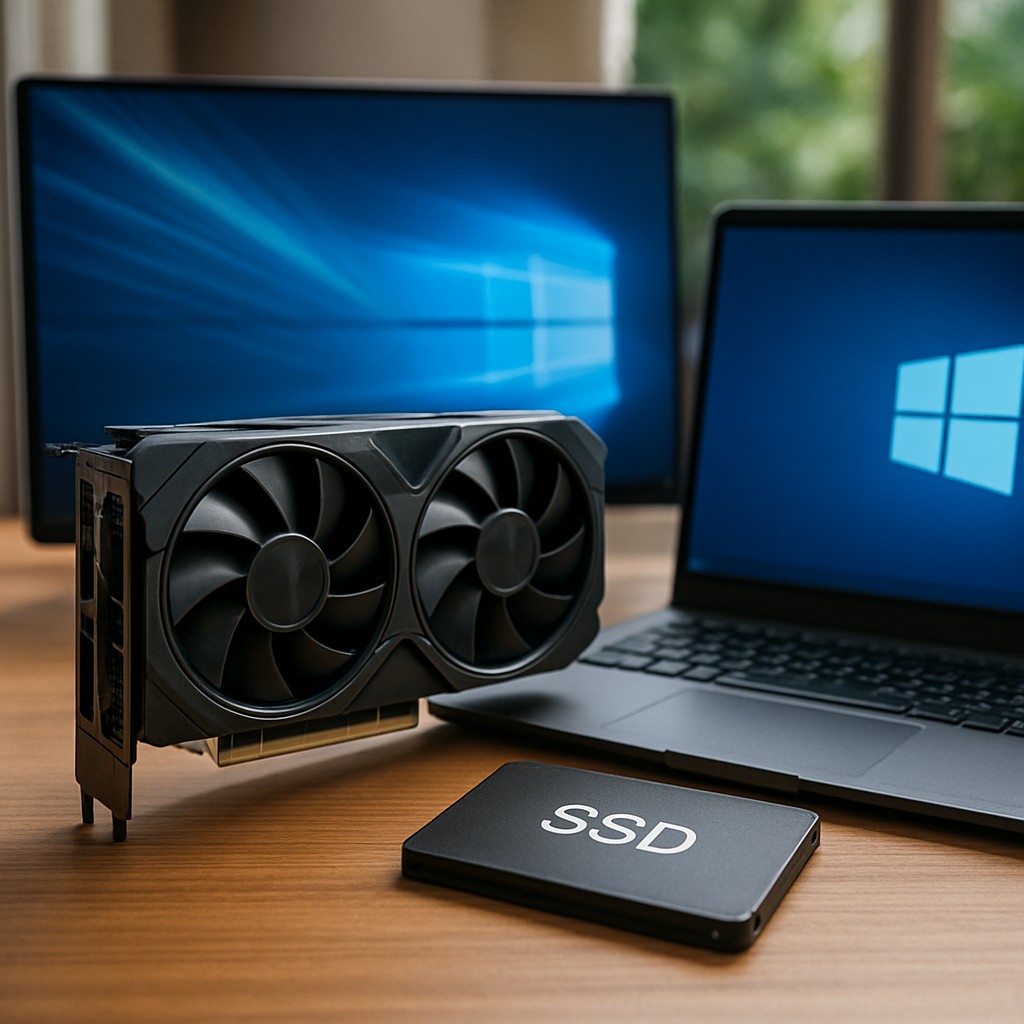
Why Use GPU VRAM as a RAM Disk?
Modern GPUs pack high-speed memory (VRAM) that often sits idle. By mounting a portion of this memory as a virtual RAM disk, users can leverage its bandwidth for specific workloads. While system RAM remains the fastest option for general use, GPU VRAM can outperform SSDs in sequential I/O tasks, making it ideal for video rendering, AI model caching, or virtual machine storage.
However, the PCIe bus introduces latency and bandwidth limitations. A typical GPU VRAM disk achieves 60-70% of the speed of a true RAM disk, but it still surpasses even the fastest NVMe SSDs. This approach is particularly useful for systems with limited system RAM but ample GPU memory.
Prerequisites for Setting Up a GPU VRAM Disk
Before proceeding, ensure your system meets the following requirements:
- Operating System: Windows 10 (1903) or later, 64-bit only.
- GPU: NVIDIA GPU with CUDA driver ≥ 525 or AMD GPU with ROCm ≥ 5.5 (OpenCL branch).
- CUDA Toolkit: Version 12.5 runtime libraries (included in recent NVIDIA drivers).
- ImDisk: Version 2.0.7 or newer (provides the virtual disk driver).
- Visual C++ Redistributable: 2015-2022 (x64).
- Administrator Rights: Required for driver installation and disk mounting.
Note: Laptops with dual GPUs (integrated + discrete) should ensure the discrete GPU is not in power-saving mode to avoid throttling.
Step-by-Step Installation Guide
1. Install ImDisk
ImDisk is the foundation for creating virtual disks in Windows. Follow these steps:
- Download the latest installer from the official ImDisk website.
- Run the installer as Administrator and select Install driver and Install ImDisk Virtual Disk Driver.
- Verify the installation by opening Command Prompt and running:
imdisk -lThis should display a list of attached virtual disks (initially empty).
2. Download and Configure GpuRamDrive
GpuRamDrive is the open-source tool that allocates GPU memory and exposes it as a virtual disk via ImDisk.
- Download the latest release from the GitHub repository (e.g.,
GpuRamDrive_x64.zip). - Extract the ZIP file to a folder, such as
C:ToolsGpuRamDrive. - Inside the folder, you’ll find
GpuRamDrive.exe(the main executable) andGpuRamDrive.cfg(optional configuration file).
3. Mount the GPU VRAM Disk
Use ImDisk’s proxy mode to forward I/O requests to GpuRamDrive:
- Open an elevated PowerShell window (Run as Administrator).
- Run the following command to create a 4 GB VRAM disk assigned to drive letter
V::
imdisk -a -t proxy -f "C:ToolsGpuRamDriveGpuRamDrive.exe -size 4096 -letter V"Command Breakdown:
-a: Adds a new virtual disk.-t proxy: Uses ImDisk’s proxy driver to forward I/O to GpuRamDrive.-f: Specifies the path to the proxy executable and its arguments.-size 4096: Allocates 4 GB of VRAM (rounded down to the nearest 256 MB).-letter V: Assigns the drive letterV:.
4. Format the New Drive
- Open Disk Management (
diskmgmt.msc). - Locate the new unallocated volume labeled GpuRamDrive.
- Right-click and select New Simple Volume.
- Assign the drive letter
V:and format it as NTFS (quick format is sufficient).
Benchmarking and Performance
GPU VRAM disks deliver impressive performance, though they fall short of true RAM disks due to PCIe overhead. Below are benchmark results for an RTX 3060 (12 GB VRAM) compared to a system RAM disk:
| Test | GPU VRAM Disk | System RAM Disk |
|---|---|---|
| Sequential Read (64 KB) | 10.2 GB/s | 15.8 GB/s |
| Sequential Write (64 KB) | 9.5 GB/s | 14.9 GB/s |
| Random 4 KB Read | 0.85 GB/s (~210k IOPS) | 1.3 GB/s (~320k IOPS) |
| Random 4 KB Write | 0.78 GB/s (~190k IOPS) | 1.1 GB/s (~260k IOPS) |
Key Takeaway: While GPU VRAM disks are slower than system RAM disks, they still outperform SSDs by a significant margin, making them viable for high-throughput tasks.
Advanced Configuration and Troubleshooting
Selecting a Specific GPU
If your system has multiple GPUs, specify the desired device using the -gpu flag:
GpuRamDrive.exe -size 4096 -gpu 1 -letter VThis uses the second GPU (index 1) in your system.
Reserving a Portion of VRAM
To avoid starving the GPU of memory for graphics tasks, allocate only a fraction of the total VRAM:
GpuRamDrive.exe -size 2048 -letter VGpuRamDrive automatically limits allocations to ≤ 90% of total VRAM.
Persistent vs. Volatile Storage
By default, the VRAM disk is volatile and disappears on shutdown. To preserve data:
- Manual Backup: Use
robocopyto copy files to a regular SSD before shutdown. - Hybrid Mode: Enable a small SSD cache with
-hybrid 256(256 MB SSD backing).
Common Issues and Fixes
| Issue | Cause | Solution |
|---|---|---|
| Access Denied | Insufficient permissions | Run commands as Administrator |
| Drive appears but returns errors | Outdated GPU driver | Update to the latest NVIDIA driver (≥ 530) |
| System freezes on first write | GPU waking from sleep | Pre-warm the drive with a small file copy |
| Limited usable VRAM | GPU is heavily used (e.g., multiple displays) | Reduce allocated size or disable unused monitors |
Alternatives to GpuRamDrive
While GpuRamDrive is the most popular open-source solution, other tools offer similar functionality:
- SoftPerfect GPU-RAM Disk: A paid alternative (~$19) that uses DirectX for memory allocation.
- VRAMDISK: An experimental tool with limited documentation but active community support.
- ImDisk + Custom Scripts: Advanced users can create custom solutions using ImDisk’s proxy mode.
Final Thoughts
Mounting GPU VRAM as a RAM disk is a powerful way to utilize idle resources for high-performance tasks. While it may not replace system RAM for general use, it offers a compelling alternative for workloads that benefit from high-speed sequential I/O. With the right setup, users can achieve near-RAM disk speeds, making it a valuable tool for professionals in video editing, AI, and virtualization.
Pro Tip: Monitor GPU temperatures and power usage, especially on laptops, to avoid thermal throttling or excessive power draw.
Leave a Reply